WordPress Launch Checklist: Essential Guide
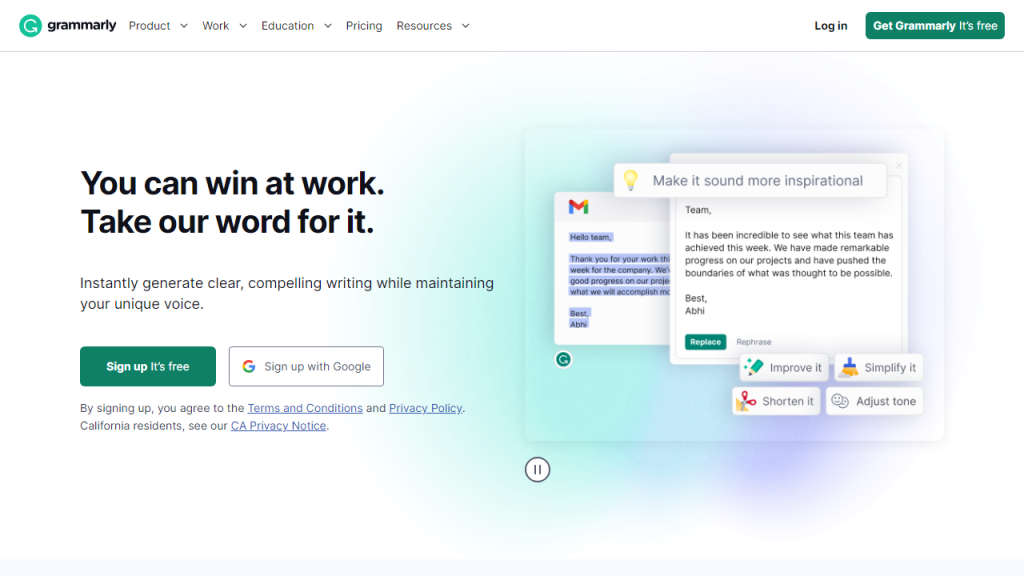
Table of Contents
- 1. Install a WordPress Backup is important from WordPress Launch Checklist
- 2. Set Up Your Security Plugins
- 3. Create a Custom 404 Page
- 4. Secure Your WordPress Admin
- 5. Create a Coming Soon Page
- 6. Ensure Your Ecommerce Features Work
- 7. Ensure Your Forms Work Properly
- 8. Ensure Your Site Functions in All Browsers
- 9. Ensure Your Themes and Plugins Are Up to Date
- 10. Ensure Your Site Is Accessible from WordPress Launch Checklist is also another important task
- 11. Connect Your Site to Analytics
- 12. Set Up Meta Tags
- 13. Optimize Page URLs for Search Engines
- 14. Use Alt Text in Your Images
- 15. Test Your Social Integrations
- 16. Ensure Your Site Is Responsive Across All Devices
- 17. Validate Your Site’s HTML and CSS Code
- 18. Add a Favicon to Your Site
- 19. Check for Spelling and Grammar Errors
- 20. Ensure All Areas Have Content
- 21. Check for Web Page Formatting Errors
- 22. Create and Test Your Print Style Sheet
- 23. Ensure Your Site Has No Broken Links
- Conclusion
1. Install a WordPress Backup is important from WordPress Launch Checklist
One of the most important things to consider before launching a WordPress website is the backup. A sudden server crash, an accidental error, or a hacker attack can lead to data loss. When this happens, having a backup of your website proves to be a lifesaver. A backup is an essential safeguard that helps to restore your website quickly and keep your website’s downtime to a minimum.
Adding a backup option on WordPress is a straightforward process. WordPress offers various backup plugins that you can install and configure to back up your website regularly. Some popular choices include UpdraftPlus, BackWPup, and VaultPress.
UpdraftPlus is a highly rated option that allows automatic backups and easy restoration. BackWPup offers comprehensive backup features including database backup and system information. VaultPress, though a bit pricier, offers real-time backup and security scanning services.
Regardless of which plugin you choose, the important part is to have a reliable backup in place as a part of your pre-launch checklist.
2. Set Up Your Security Plugins
In today’s digital world, website security can never be overemphasized. Websites are constantly under threat from hackers, data breaches, and malware attacks. A single security vulnerability could lead to devastating consequences including loss of data, reputation and revenue. This is why it’s so essential to get a robust security plugin as part of your WordPress launch checklist.
Security plugins perform several important roles like protection against brute force attacks, spam filtering, malware scanning, firewall setup, and more. They play an integral part to keep your website safe from the multitude of online threats.
Setting up a security plugin in WordPress is fairly simple. WordPress houses an array of powerful security plugins such as Wordfence, Sucuri, and iThemes Security. Once you have chosen your preferred plugin, it’s a matter of installing it, activating it, and configuring the settings according to your need.
Remember, the internet is a wild space, and threats come in various forms and sizes. Having solid security in place is your first line of defense. Don’t launch without it!
3. Create a Custom 404 Page
A 404 error page is what your clients will encounter when they stumble upon a broken link or a page that doesn’t exist on your website. While it might seem like a minor detail, a 404 error page can have a significant impact on your user experience and SEO.
Having a default 404 page that doesn’t align with your website’s design can be jarring for your visitors. Instead, a custom 404 page allows you to uphold your website’s aesthetic and tone, possibly provide a touch of humor, and more importantly, provide your visitors with a helpful path forward. It can include links to your home page, your most popular pages, or a search box for them to find what they’re looking for, thereby reducing the bounce rate and improving user experience.
Creating a custom 404 page in WordPress can be done using several methods. The simplest way is by using WordPress plugins, like 404page, which allows you to easily create and manage a custom 404 error page from your WordPress admin.
So, before you launch, be sure to customize your 404 page to align with your website’s theme and design, and ensure that it serves your visitors well in the event of unexpected errors.
4. Secure Your WordPress Admin
The WordPress admin area, being the heart of your website, needs special attention when it comes to security. It is prime target for hackers and a single breach can result in your entire website being taken over. Hence, securing your WordPress admin should be a top priority on your pre-launch checklist.
Here are some effective ways to enhance your WordPress admin’s security. Firstly, always use a strong, unique password. Consider using a password generator or a password management tool to ensure your password’s strength and uniqueness.
Secondly, limit login attempts to prevent brute force attacks. There are several plugins such as WP Limit Login Attempts that offer this functionality.
Thirdly, implement two-factor authentication for an additional layer of security. Plugins like Two-Factor help you easily set this up.
Another useful tactic is to change the WordPress admin URL. By default, WordPress websites have ‘wp-admin’ as their admin login URL. Changing this can conceal your login page from hackers.
Remember, your website security is only as strong as its weakest link. Be sure to secure your WordPress admin before launching.
5. Create a Coming Soon Page
When launching a WordPress website, creating a ‘Coming Soon’ page might not seem like an immediate necessity. However, it packs several advantages that can give your website a strong start. A ‘Coming Soon’ page is essentially a teaser of your website that goes live before your actual website does. It’s a great way to create anticipation, build an email list, and improve your SEO before the actual launch.
Creating a ‘Coming Soon’ page in WordPress is a breeze with the right plugins. There are several plugin options such as Under Construction Page, and Coming Soon Page & Maintenance Mode by SeedProd. These plugins offer templates and customization options to build an engaging ‘Coming Soon’ page.
Your ‘Coming Soon’ page should align with your brand image and give a hint of what your site will offer. Including an option to subscribe or follow your social media channels will help you build your audience even before your website goes live.
So, before you launch, prepare a ‘Coming Soon’ page and let your audience know that something exciting is on its way.
6. Ensure Your Ecommerce Features Work
If your WordPress website includes ecommerce features, it’s imperative to ensure their smooth functioning before the launch. Any glitches or malfunctions in these crucial areas can negatively impact your sales, user experience and your brand’s reputation.
Start with testing the complete shopping process to ensure it’s clear and intuitive. This includes product selection, shopping cart functionality, checkout process, and the payment system. Make sure that the product listings, images, descriptions, and prices are accurate.
Try out every payment gateway to ensure transactions are processed correctly. Testing should also be done across multiple devices and browsers to check for consistency and responsiveness. If you’re using a plugin like WooCommerce, use its in-built features and testing modes to conduct thorough testing.
Another crucial factor is the security of your ecommerce transactions. Installing a SSL certificate on your website is recommended to protect your customers’ sensitive information and add credibility to your ecommerce site.
Remember, a well-functioning ecommerce component can dramatically enhance the user experience and increase conversions. Invest ample time in testing before the big launch.
7. Ensure Your Forms Work Properly
Forms on your website play a crucial role in engaging your visitors, gathering their information, and even in lead generation. These can include contact forms, subscription forms, comment forms, or any other form that users fill out on your website. They form a critical communication link between you and your users, hence ensuring they work smoothly is of utmost importance.
Check the functionality of all your forms by filling them out and hitting submit, and then checking if the correct information gets saved, or if the email notifications and autoresponders work as expected. It’s also important to test the form validation messages and error messages to ensure they guide the user appropriately. Plugins like Contact Form 7 offer feature-rich solutions to build and manage your forms effectively.
Another thing to consider while testing forms is the user experience. Forms should be easy to fill out and the instructions should be clear. Make sure the forms are mobile-friendly and look good on devices of all sizes.
Getting your forms right can dramatically impact your visitor’s experience, your ability to get in touch with them, and ultimately your website’s success. Don’t forget to check off this crucial item off your pre-launch checklist.
8. Ensure Your Site Functions in All Browsers
While it’s essential to design a website that looks beautiful and functions smoothly, it’s equally important to ensure that it does so across all browsers. This is referred to as cross-browser compatibility. Differences in how browsers render HTML, CSS, and JavaScript can lead to inconsistencies in how your site appears and performs on different browsers, negatively impacting your viewers’ experience.
You should test your website on all major browsers including Google Chrome, Mozilla Firefox, Safari, and Microsoft Edge. Take a look at how your site’s layout, fonts, images, forms, and links appear and function in each browser. Pay particular attention to interactive elements and features like sliders or forms.
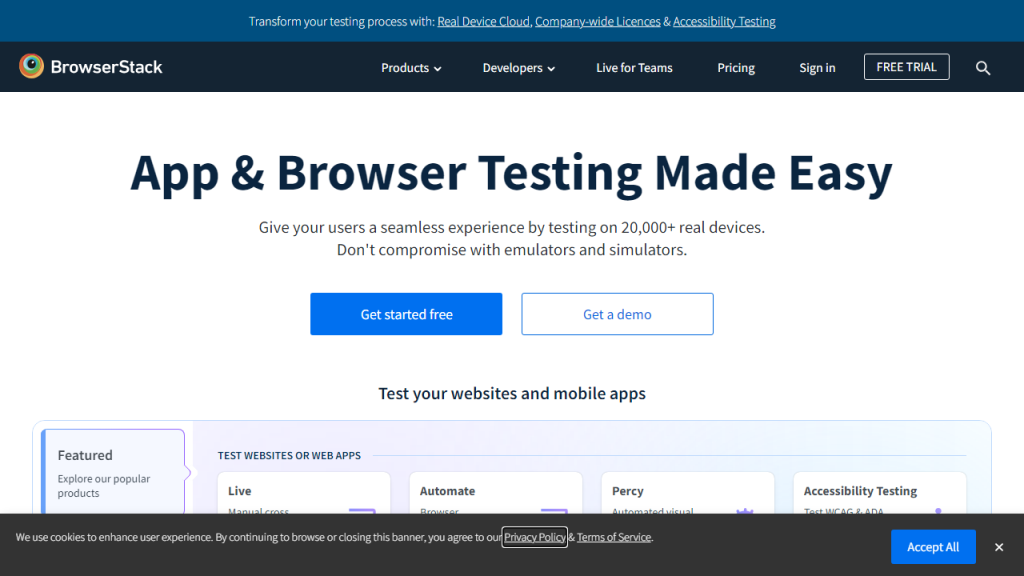
Tools like BrowserStack can help you carry out this testing efficiently by providing a platform to test your website on multiple browsers and platforms.
9. Ensure Your Themes and Plugins Are Up to Date
Themes and plugins are integral parts of any WordPress website. They add functionality, dictate the website’s look and feel, and provide numerous features to customize your site. Hence, it’s paramount to ensure that all your themes and plugins are up-to-date before your site goes live.
Updates not only bring new features and improvements but they also often include crucial security patches to protect against known vulnerabilities. Outdated plugins and themes are often a soft target for hackers due to these vulnerabilities. So, keeping them updated not only improves the performance of your site but also strengthens its security.
The way to ensure updates is quite simple. In your WordPress admin area, you can view any available updates by navigating to the ‘Updates’ section. WordPress also regularly checks for updates and displays notifications when there are updates available. In most cases, you can update your themes and plugins to the latest version with just a single click.
Remember, an outdated theme or plugin can render a big blow to your newly launched website. Make sure to start off on the right foot with all your themes and plugins updated.
10. Ensure Your Site Is Accessible from WordPress Launch Checklist is also another important task
In today’s digital age, it’s essential that everyone, regardless of their physical abilities or disabilities, can access and interact with your site. Accessibility makes your content available to a wider range of people, includes those with disabilities, and provides a better overall user experience.
To make your website accessible, consider factors like color contrast, font size, keyboard navigation, and image alt text, among others. These design elements should cater to various needs of users with visual, hearing, cognitive or motor disabilities.
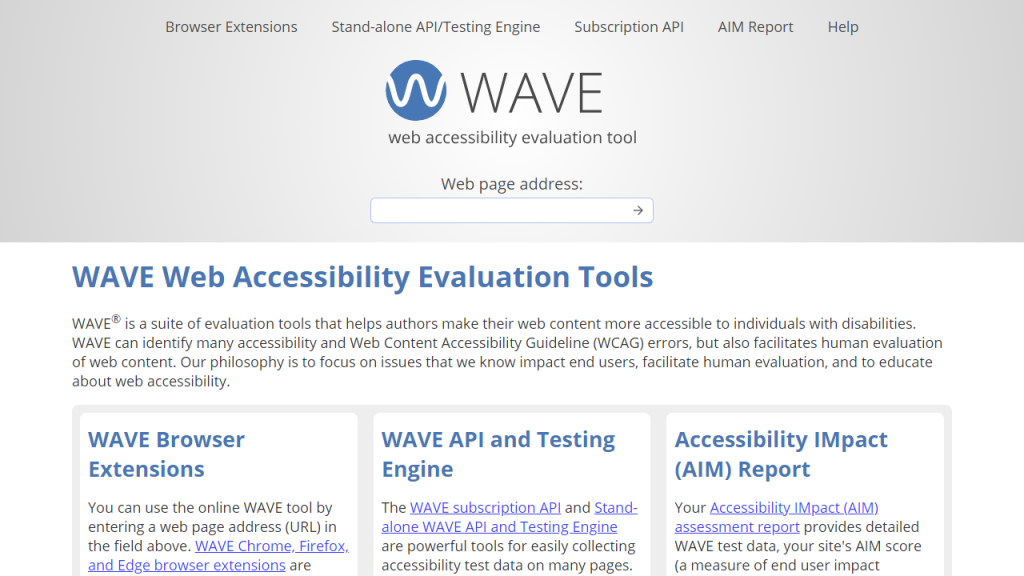
Testing the accessibility of your site can be done with tools like the WAVE Accessibility Tool which provides a comprehensive analysis of your site’s accessibility. Plugins like WP Accessibility can also help improve accessibility features on your site.
11. Connect Your Site to Analytics
In the world of digital marketing, data is king. Analytics tools, such as Google Analytics, allow you to track and understand your website’s performance, know your audience better, and make informed decisions to improve your website. Connecting your website to analytics should be a crucial part of your launch checklist.
Google Analytics gives you crucial insights like the number of visitors to your site, their demographic details, the pages they visit, the time spent on your site, and much more. These insights are valuable in understanding what works on your site and what needs tweaking.
Setting up Google Analytics on your WordPress site involves signing up for an account on the Google Analytics website, and then adding a small piece of code to your website. There are also several plugins, such as MonsterInsights, that make integrating Google Analytics with WordPress a piece of cake.
Remember, data-driven decision-making is the key to the success of any digital venture. By syncing up with analytics, you set yourself up for success right from the start.
12. Set Up Meta Tags
Meta tags are a crucial element of SEO that should not be overlooked in your WordPress website launch checklist. They are fragments of text that describe a page’s content but do not appear on the page itself. They only exist in the page’s code. Meta tags help tell search engines what your page is about, and they can also increase your website’s visibility and click-through rates.
Two of the most important meta tags are the meta title and the meta description. The meta title is the title of your webpage that shows up in search engine results, and the meta description is the brief summary that appears below the title in those results.
To add meta tags in WordPress, one of the easiest ways is to use a SEO plugin like Yoast SEO or All in One SEO. These plugins offer simple fields where you can enter your meta title and description for each page.
Pro tip: Make your meta tag text enticing, as it’s often the first thing potential visitors read about your page in search results. Make it count, and increase those click-through rates!
13. Optimize Page URLs for Search Engines
URLs, often overlooked, play a significant role in your site’s SEO. A well-crafted URL provides both humans and search engines an easy-to-understand indication of what the webpage is about. It can improve user experience and search visibility, hence optimizing it should be a part of your website launch checklist.
Creating SEO-friendly URLs in WordPress is quite straightforward. WordPress provides an option of ‘Permalink settings’ that allow you to customize how your URLs are structured. It is typically recommended to use the ‘Post name’ setting as it generates clean, easy-to-read URLs, including the keywords of your post or page title.
When customizing your URLs, make sure they are simple, meaningful, and contain your page’s main keywords. For instance, a URL like www.yourwebsite.com/wordpress-seo-guide is much better than www.yourwebsite.com/?p=10467.
Optimized URLs not only help in achieving better search ranking but also result in higher click-through rates. So, before you launch, ensure your URLs are primed for search engines and users.
14. Use Alt Text in Your Images
Alt text, short for alternative text, is an often-overlooked part of image optimization. It’s used within an HTML code to describe the appearance and function of an image on a page. Alt text serves two main purposes: it makes your website more accessible to visually impaired users who use screen readers, and it helps search engines better understand the image content, thereby improving your SEO.
Adding alt text to your images in WordPress is a simple task. When you upload an image to the Media Library, there’s an ‘Alternative Text’ field where you can enter your alt text. Try to ensure your alt text accurately describes the image content, and try to naturally incorporate your post’s or page’s target keywords into it.
Implementing alt text is a small step that takes little time but can have a significant impact on your site’s accessibility and SEO performance. Before hitting the live button on your WordPress website, make sure all your images have their alt text in place!
15. Test Your Social Integrations
In today’s hyper-connected digital age, social media integration plays a critical role in expanding your reach, boosting your website’s traffic, and enhancing user engagement. Whether it’s the social share buttons that let users share your content with a single click, or your embedded social feeds that keep your site’s content fresh and dynamic, you want to ensure these integrations work flawlessly.
Test every social media button and link on your site to ensure they point correctly to your social media profiles. If you’re using plugins for this purpose, ensure they are configured correctly and display the right icons and links. If you’ve embedded social feeds, check if the feeds display the latest content and the formatting aligns well with your website’s design.
Not to forget, these integrations need to be tested on different devices to ensure they are responsive and do not affect the page load speed.
Social media is a powerful tool to boost your website’s visibility and reach. By ensuring smooth social integrations, you prepare your WordPress website to harness the full potential of social media right from the launch.
16. Ensure Your Site Is Responsive Across All Devices
With the increasing number of users accessing websites from their mobile devices, having a responsive design is no longer an option, it’s a must. A responsive design ensures your website looks and performs well, regardless of the device it’s viewed on. It enhances the user’s experience and also offers SEO benefits, as Google gives preference to mobile-friendly sites.
In order to test your site’s responsiveness, you can resize your browser window to different sizes and see how your website responds. You should also view your site on different devices – smartphones, tablets, laptops – to have a holistic view of its performance across platforms. You might also use online tools like Responsinator, which help you test your site on different screen resolutions.
Remember, your users expect a seamless experience no matter what device they’re using. By ensuring your website is responsive, you deliver a better user experience, which is key to retaining and attracting new visitors. So, before you launch, make sure to tick off responsiveness on your checklist.
17. Validate Your Site’s HTML and CSS Code
HTML and CSS are foundational to your website. They dictate how your website looks and functions. However, even minor coding errors can lead to your site displaying incorrectly or behaving unexpectedly. Validating your HTML and CSS code is an important step which can prevent such errors and also improves your site’s performance and SEO rankings.
Code validation involves checking your code against established standards to ensure it’s error-free and follows the best practices. It helps in spotting any code errors or omissions that may have been overlooked during development.
There are several online tools that can help you validate your HTML and CSS code like the W3C Markup Validation Service. You simply input your site’s URL (or direct input your code), and these tools will provide a detailed report of any errors or warnings.
Remember, clean and validated code not only prevents potential functionality issues but is also better understood by search engines. Before launching your WordPress website, make sure your HTML and CSS code is valid and error-free.
18. Add a Favicon to Your Site
A favicon, short for ‘favorite icon’, is a small icon displayed in the browser tab next to your website’s title. It helps users quickly recognize your tab among their open tabs, bookmarks, and browsing history. While it may seem like a tiny detail, a favicon enhances your site’s professionalism and strengthens your brand identity.
In WordPress, adding a favicon to your site is a straightforward task. Simply navigate to Appearance > Customize > Site Identity in your WordPress dashboard, and you’ll find an option to upload your Site Icon, which will be used as the favicon. The image should be squared and at least 512 × 512 pixels to ensure it displays properly across all devices.
Remember, it’s the small touches that enhance the user experience and set your website apart. To ensure your website conveys a professional image right from the launch, make sure you add a favicon that represents your brand well.
19. Check for Spelling and Grammar Errors
When launching a new WordPress website, the content’s quality is just as important as the site’s design and functionality. Spelling and grammar errors can harm your website’s credibility, disrupt the user experience, and send a negative signal to your visitors. Hence, a thorough proofreading is an essential part of your pre-launch checklist.
Fortunately, there are a host of online tools that can help you spot and correct any spelling or grammar errors. Tools like Grammarly and Hemingway Editor are particularly useful in checking your content for errors and readability issues.
Remember, your content reflects your brand’s image and professionalism. A well-written, error-free content can build trust, engage your visitors, and boost your website’s overall performance. So, before you launch, double-check your content and ensure it’s free from any spelling or grammar errors.
20. Ensure All Areas Have Content
A website is more than just its home page. All its sections and pages collectively create an experience for your visitors. Hence, it’s essential to ensure that all areas of your website have relevant and quality content before you launch. Not only does this present a complete picture to your visitors, but it also helps your SEO by giving search engines more content to index.
Check each page of your website to ensure there’s content in all areas. Make sure your ‘About Us’ page tells your story effectively; your ‘Contact Us’ page has all the necessary information; your blog posts are properly formatted and engage your readers; your product pages have accurate and enticing descriptions, and so on.
Also, don’t forget smaller details like footer information, privacy policies, and disclaimers. Content in these areas not only provides important information to your visitors but also adds to the completeness and professionalism of your website.
Before you hit the switch and launch your website, do a thorough review and ensure every nook and cranny of your website is well stuffed with quality content.
21. Check for Web Page Formatting Errors
Web page formatting plays a critical role in user experience. It helps your content to be read and understood easily, and hence, any formatting errors can disrupt the user’s experience and make your content hard to digest.
Before your site goes live, review each page to ensure its formatting is correct and consistent. Ensure your headings, fonts, colors, space alignment, and images are correctly formatted and are in line with your site’s design. Look out for any incorrect line breaks, text alignments, or text and image placements. If you have any bulleted or numbered lists, make sure they are properly arranged.
Responsive design checks are also crucial during this stage. Test your pages on different devices and ensure your formatting remains intact and the content is easily readable on all device sizes.
Remember, well-formatted web pages not only enhance readability but also add to the overall visual appeal of your website. Before you launch, validate the formatting across your entire site to ensure a polished and professional look.
22. Create and Test Your Print Style Sheet
Although we live in a digital age, many people still prefer to print web pages for various reasons. A print style sheet ensures that your web pages print in an organized and easy-to-read manner, thereby enhancing the user’s experience. It strips away colors, background images, and other design elements that don’t translate well to the printed page, leaving behind only the essential text content and relevant images.
Creating a print style sheet involves writing a separate CSS file that only applies when a user prints a web page. You can create rules to hide non-essential elements like navigation menus, adjust font and color for better readability, and optimize image sizes for quicker printing.
To test your print style sheet, simply print out a few different pages from your site or use your browser’s print preview feature. Review the printed pages for readability, image clarity, and overall organization of content.
Remember, a good print style sheet provides added convenience to your users, upholds your brand’s professionalism, and further enhances the user experience. Before launching your WordPress website, ensure that your print style sheet is ready and working well.
23. Ensure Your Site Has No Broken Links
Broken links can provide a frustrating experience for your visitors, and they can also harm your site’s SEO. Hence, ensuring your site has no broken links before launch is an important task from WordPress Launch Checklist. A broken link is a link that does not work and leads to a 404 error page. This can happen for various reasons, such as a webpage being removed, a URL being modified, or a site’s structure being changed.
Check your website thoroughly to ensure all internal and external links are working. Go through all your pages, posts, navigation menus, and footers. Click on all the buttons and call to action elements that have links. Don’t forget to check your images and other multimedia content for any linked items.
Using an online tool like Broken Link Checker can help simplify this process. These tools can crawl your website and detect any broken links. WordPress plugins like Broken Link Checker can also automate this process and even provide notifications when broken links are detected.
Remember, each broken link on your site is a missed opportunity and can lead to a negative user experience. Prior to launching your WordPress website, ensure you comb through your site for any broken links and fix them for a seamless user experience.
Conclusion
Building a brand-new WordPress site is a thrilling undertaking. Careful, comprehensive planning should always take precedence over the excitement of launching the website. To make sure your website is ready to go, perform at its best, and outperform the competition, it’s a good idea to create a thorough pre-launch checklist.
From making sure your backup and security are in place to checking that your content and format are perfect, every single thing on this list is crucial to the post-launch functionality and success of your website. Despite how intimidating it may appear, the process is well worth your time and energy. Plus, it’s lot easier to handle when you have the correct tools and support.
Check that you have completed all of the steps in your WordPress launch checklist before pressing the launch button! Nobody will be happier than you, your users, and the metrics that measure your website’s performance in the future. May your WordPress website launch go off without a hitch!