How to add custom fonts to your WordPress site
Custom fonts become very popular with a website. They not only make your site have a better reading experience, good fonts could bring a better look and feel for your website.
In fact, most WordPress websites use default typography settings to display your content. However, you can add custom fonts to make your website more beautiful and attract visitors to your website too.
There are some websites where have great font collections like Google Fonts, Adobe Fonts (formerly Typekit). Google Fonts is a popular choice with more than 900 fonts in several languages and keeps updating. In addition, all of them are free.
WordPress provides several methods to add and customize fonts as you want. In this post, we will talk about two common ways to add custom fonts to your WordPress website. It could be helpful for you to add a unique look to your site by using typography
1.Adding Fonts via Plugin ( the easiest way )
A simple and easy way to add custom fonts to any WordPress theme without coding is using a plugin. There are a lot of WordPress plugins that can handle this task like Google Fonts Typography, Custom Fonts or Easy Google Fonts. In this post, we use Easy Google Fonts for a demonstration.
Install plugin
The first step is installing the plugin, please go to Plugins, then Add new then search for Easy Google Fonts.
Click on “Install Now” for Easy Google Fonts plugin, and wait until the plugin is installed.
Click on “Activate” to finish.
Add/Change Fonts on Your Site
Go to the “Appearance” menu and click on the “Customize” submenu to open the theme customizer page. Open “Typography” then select the “Default Typography” section to start customizing the fonts.
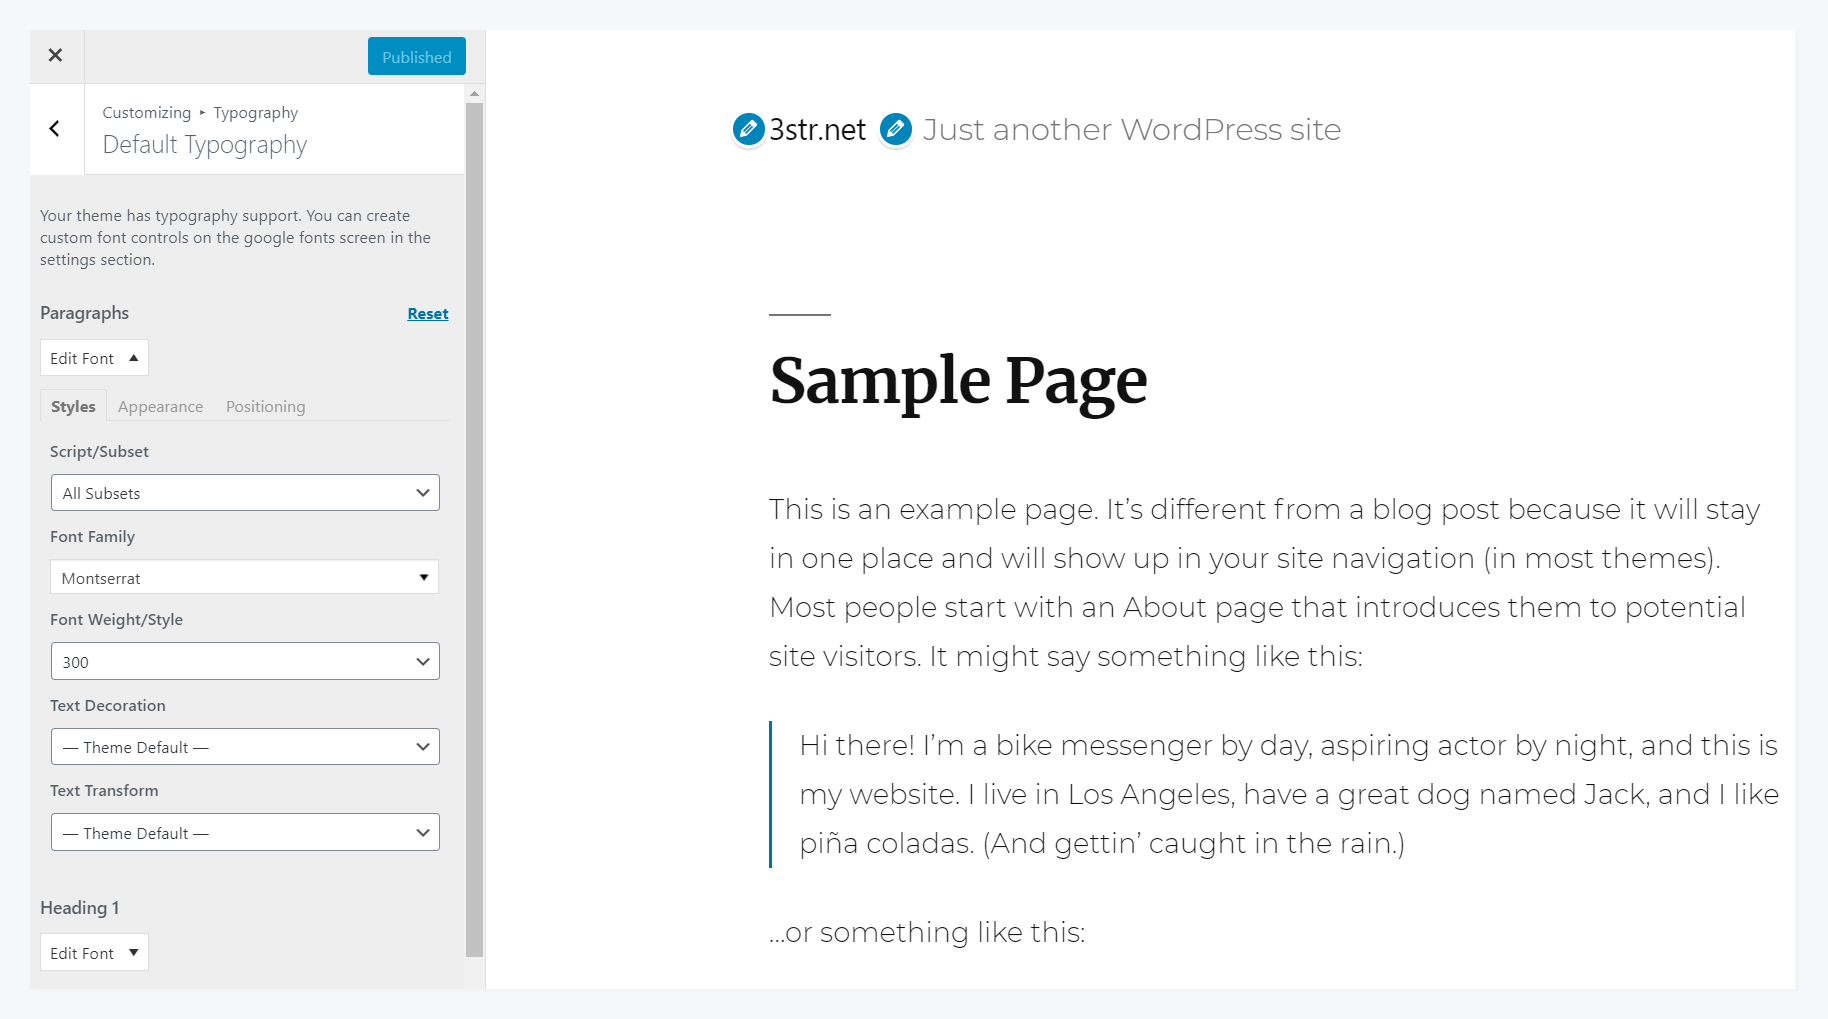
You can add or change fonts for Paragraphs or header by select settings section for theme. In the “Font Family” option please find the font you like, then select a suitable font-weight / style for each. After finishing, please click on the “Published” button on the top to save the change.
You can go back to frontpage to see change
2. Adding Fonts Manually by editing theme files
Before adding a custom font to your website please make sure that you already select suitable fonts. Let’s go to fonts.google.com and select yours.
Step 1: Loading fonts
There are several methods to load the custom fonts, let’s see the most common method use it your way
Method 1 : Using CSS and @import
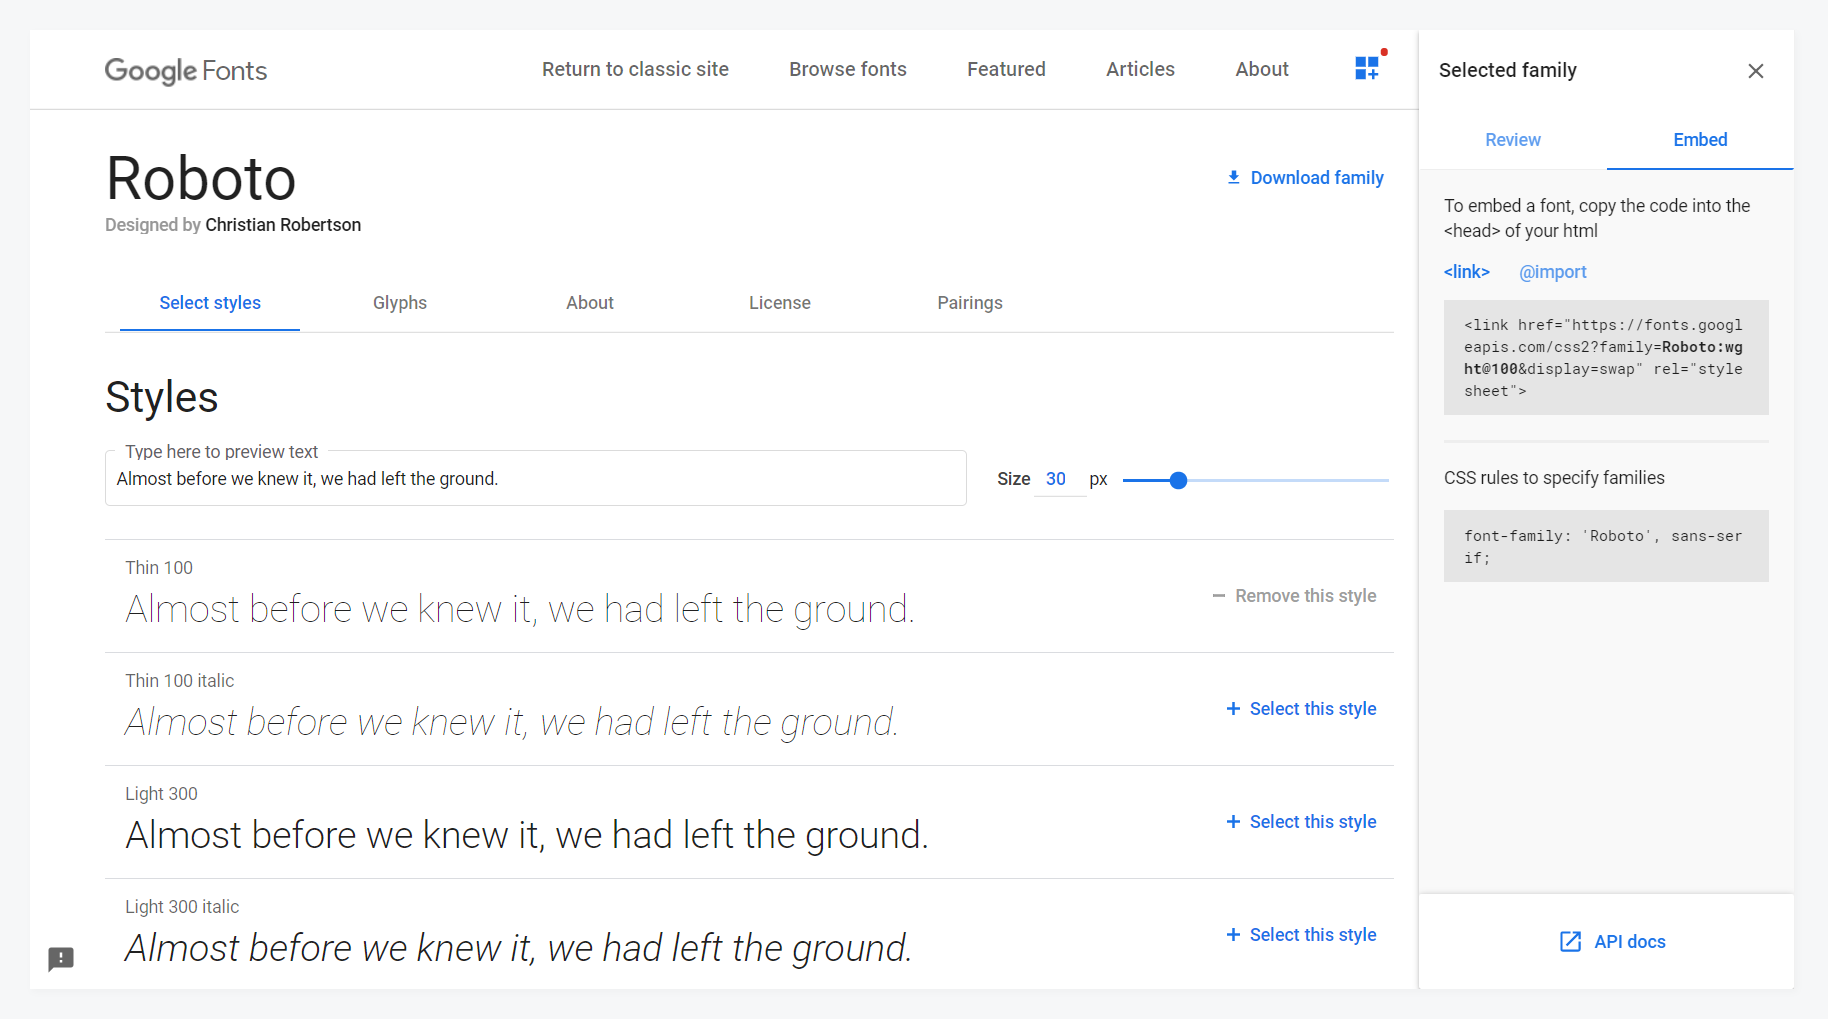
CSS @import method is one of a simple way to load a font to your website using the theme CSS file. After selecting the font family on the Google Font detail page, you can get fonts URL.
To use CSS @import method you can add @import to your stylesheet file or adding stylesheet block to theme header.php file, please see these example
- Adding @import to theme styles.css file : Open your theme CSS file and add google font’s link with CSS @import method
@import url('https://fonts.googleapis.com/css2?family=Roboto:wght@100&display=swap'); - Add style block to theme’ header.php file
Another method could be used with CSS @import is adding CSS block is adding to header.php file in your theme, please paste below text to somewhere between theandbrackets.
The problem with this method is slow performance, CSS @import method is no longer recommended, so please attend if you are planning to use this method
Method 2: Enqueueing Fonts – The “WordPress Way”
This is the recommended method. By using wp_enqueue_script or wp_enqueue_style function, you can simply load the custom fonts by adding a code snippet to functions.php file. This file is located in the WordPress activated theme folder.
function add_google_fonts() {
  wp_enqueue_style( 'google_web_fonts', 'https://fonts.googleapis.com/css?family=Open+Sans|Roboto' );
}
add_action( 'wp_enqueue_scripts', 'add_google_fonts' );
Method 3: Using @font-face
CSS @font-face method could be useful for you in some cases. For example you already purchase a premium font and want to use it for your website.
Instead of loading fonts using a link stored on Google Server, you should store fonts file on your hosting and you also have to edit your stylesheet file to load the fonts.
Font file should be downloaded and ready in web fonts like TTF, OTF or WOFF, it should be placed in a subfolder in your active theme.
For example, we have a font file named “Roboto-Regular.ttf” and it is uploaded to the “fonts” folder. Then the fonts should be loaded by adding these lines to style.css file ( you can use another file to load the fonts) :
@font-face {
  font-family: Roboto;
  src: url('./fonts/Roboto-Regular.ttf');
  font-weight: normal;
}
Step 2: Call the Custom Fonts in Your Style Sheet
After loading the fonts, you need to declare the font family for your text or HTML elements using style.css file. The most simple way to apply the font-family declaration is adding a font-family attribute for body element as same as the below example.
body {
   font-family : Roboto;
   font-weight:normal
}
Normally, a website using a font pair for website typography. So, you can also add another font and apply a font family for different elements or HTML tags.
This post provides some simple ways which help you add or change custom fonts to your WordPress site. However, if you are using a WordPress premium theme, you could find font customizing function in their theme options area without adding by your self.
As we mentioned earlier, typography is the first impression and could help get your visitor attention. Using a good typography also help to make your website look better and keep visitor staying longer on your website too.
Feel free to leave your comments or let us know if that is helpful for you.